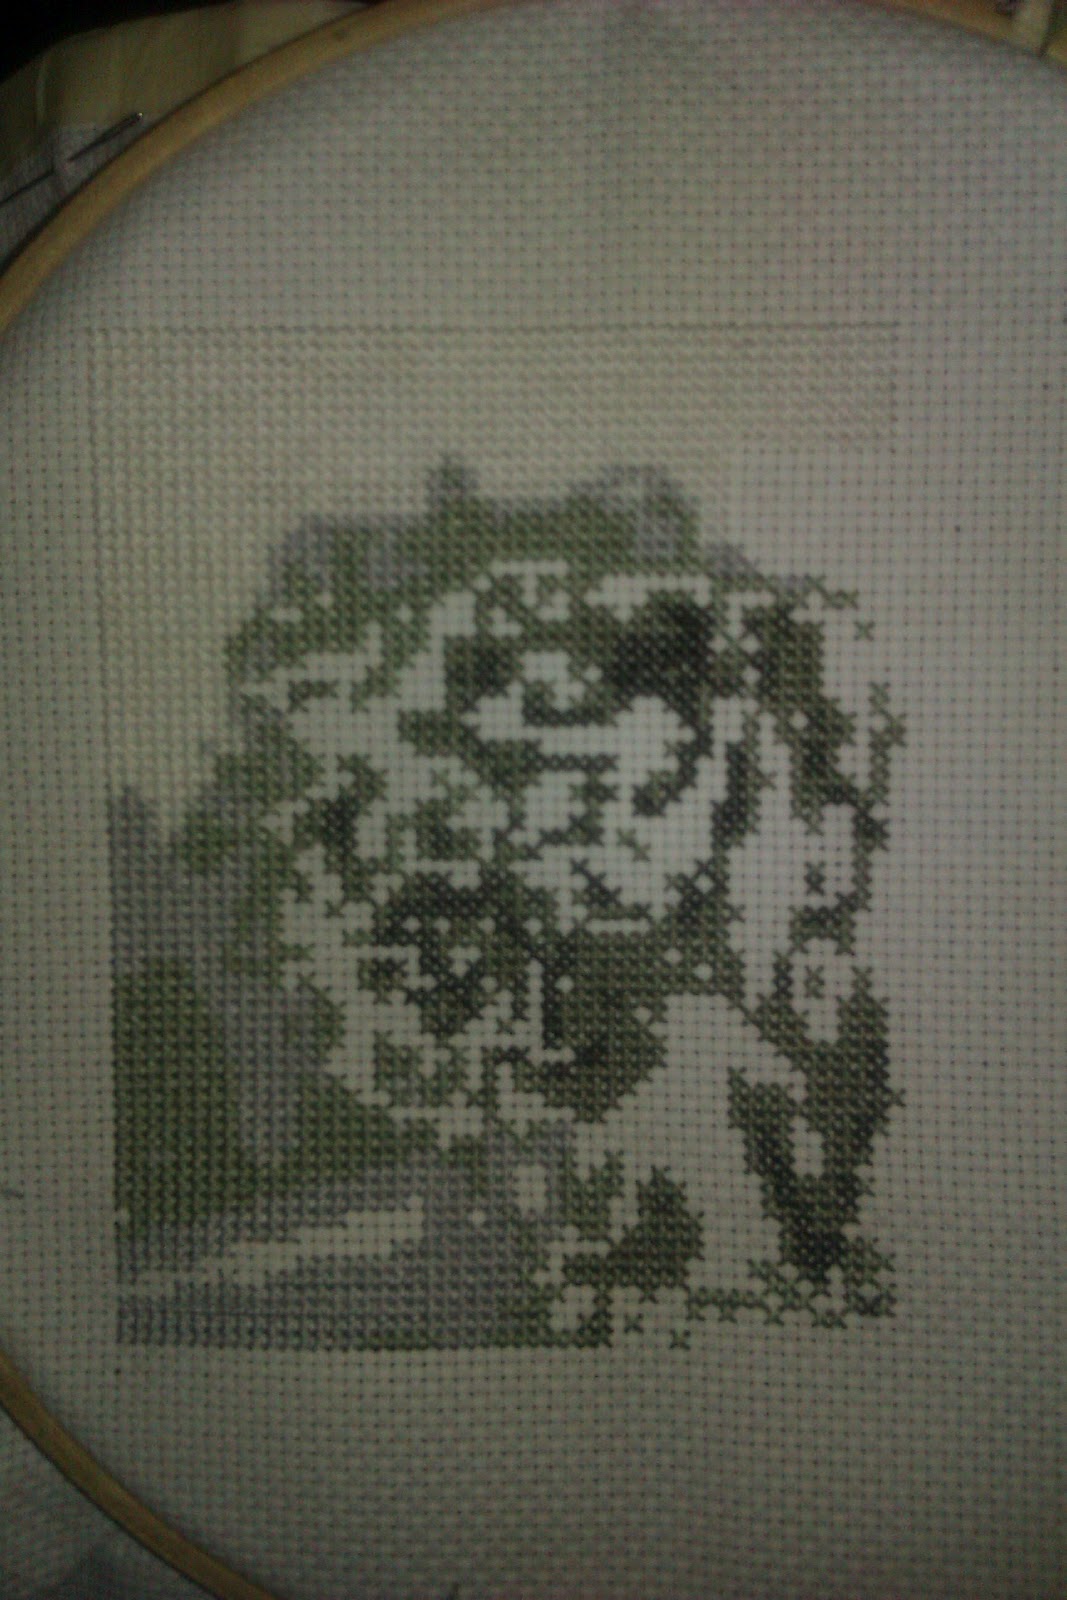
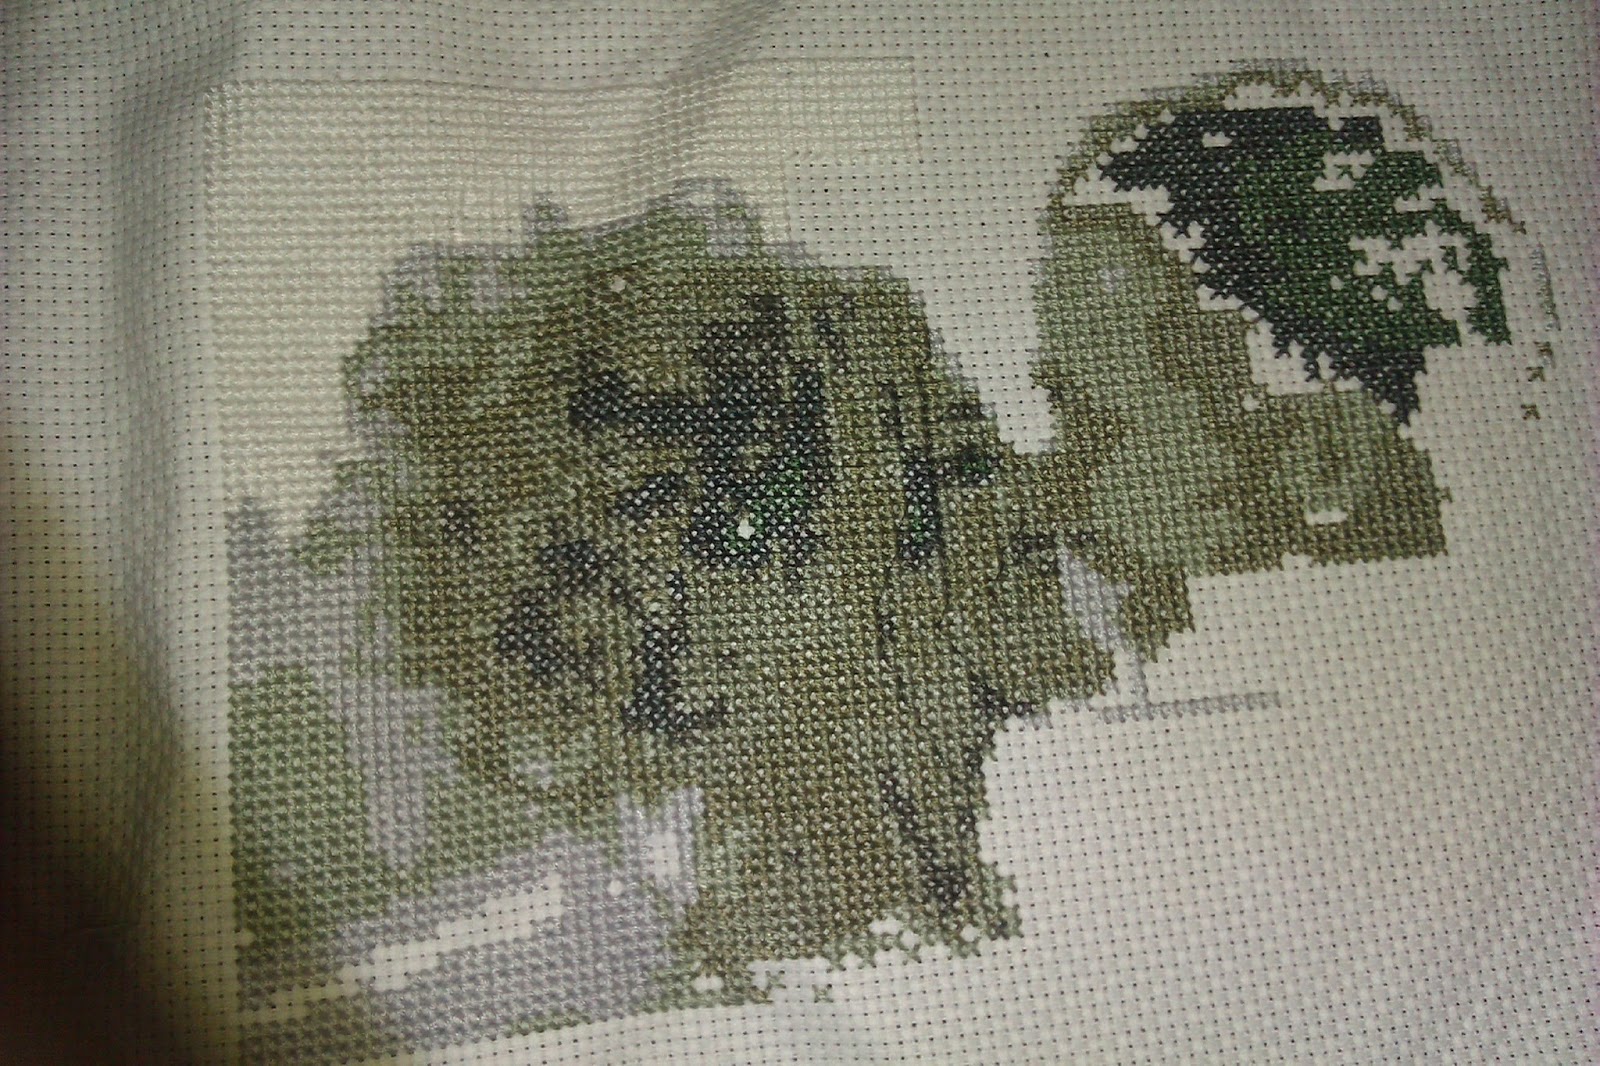
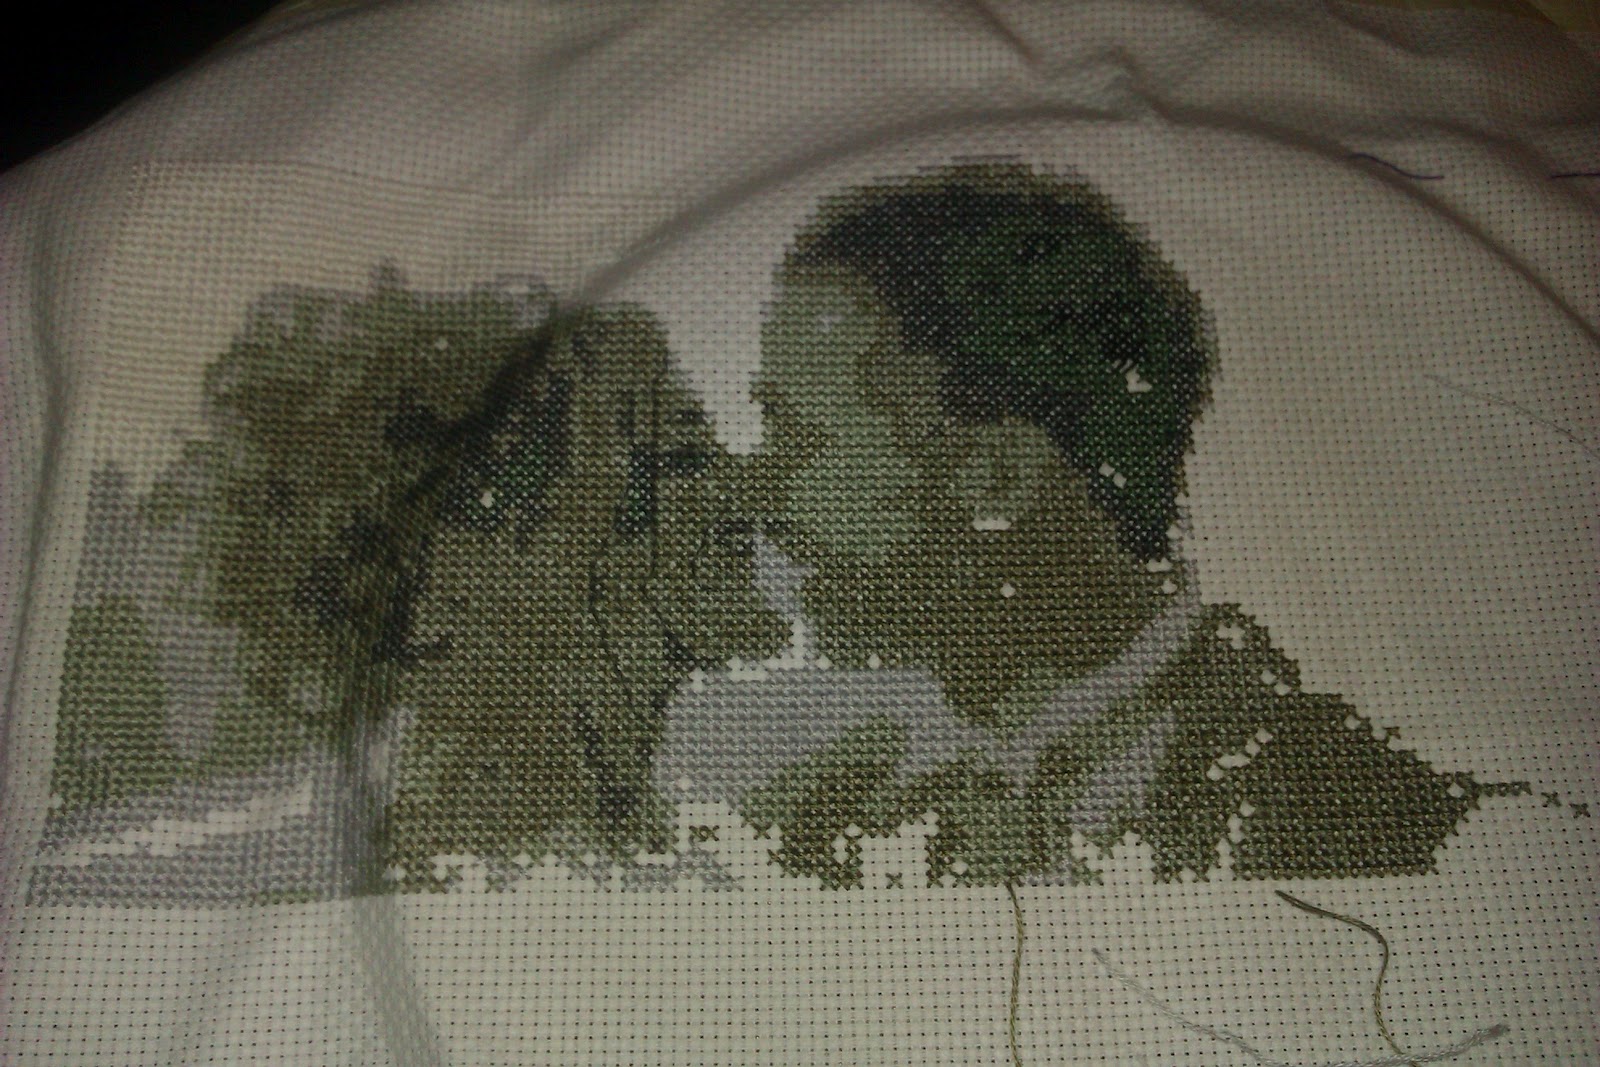
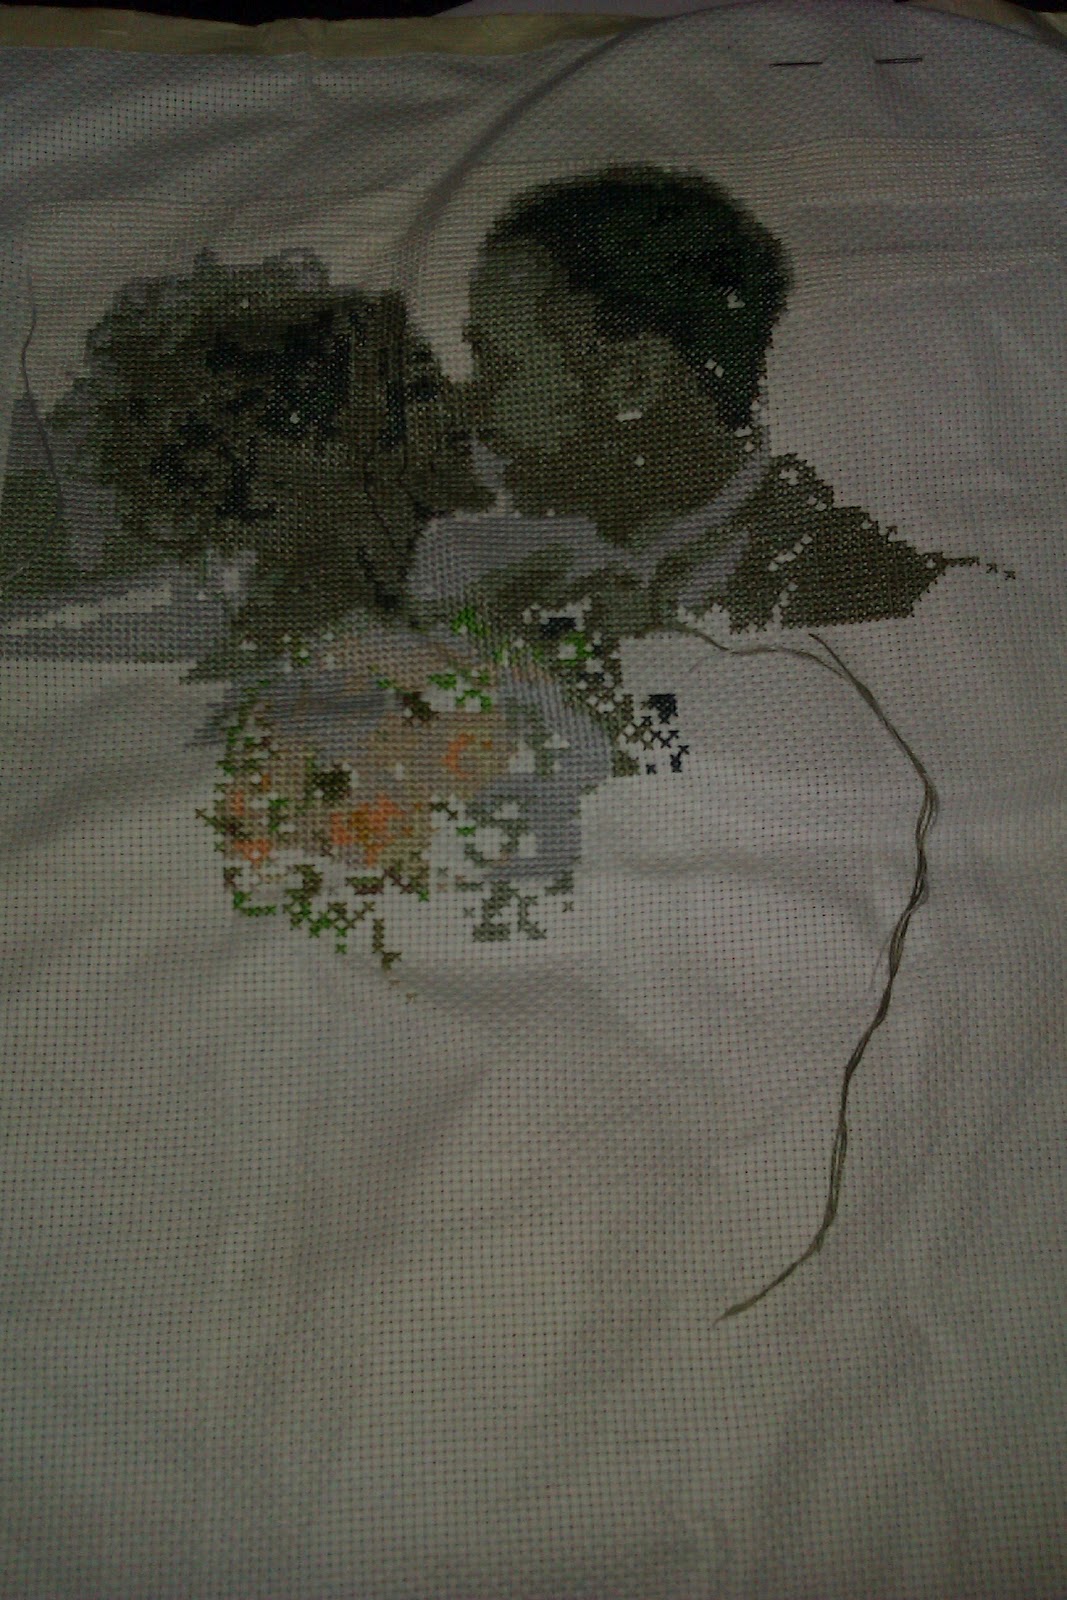
I haven't been posting much recently as I can't :( I am taking part in some secret exchanges and so all my new stuff can't be shown just in case the person they are intended for sees them.
I have however been busy ferreting away with other stuff too including going and getting myself a new job woohoo. I am really looking forward to getting in the workforce again after being a stay at home mum for so long.
I have made some candy canes as a practice for Christmas. Here is how to make them.

One packet of ready made regal icing
Peppermint flavouring, red and green food colouring paste
soften your icing by kneading it until soft and pliable.
 Add peppermint flavouring to taste I like mine quite strong and so used a lot, if the icing starts to become sticky add some icing sugar to firm up again.
Half the icing leaving half white, half the other half and colour one section green and the other red
When you have finished you should end up with something looking like this
make a sausage of white and a thinner one of a colour

Twist together and roll to seal them together.
Put them onto a wire rack to dry out over night. store in a sealed container until required, they can last for months as long as they remain airtight.
you will end up with something like the ones below

I have also made some mittens to go with the girls matching sets for Christmas. I couldn't find a pattern that would work for all three sets and so I came up with on of my own using a few other patterns I found. here is the result and underneath is the pattern.

Cast on 34 stitches using 4.5mm needles
row 1 knit 2 purl 2 to end
row 2 purl 2 knit 2 to end
repeat these two rows 9 times so you have 18 rows altogether
row 19 k2, p2
row 20 k2, p2, k2, increase one stitch by knitting into front and back, p1, k2, p2, k1, increase one stitch by knitting into front and back, p2,k2,p2, increase one stitch by knitting into front and back, k1, p2, k2, p1 increase one stitch by knitting into front and back, k2, p2, k2. (you should now have 38 stitches)
row 21 knit to end repeat 5 more times
row 27 k18, increase one stitch by knitting into front and back, increase one stitch by knitting into front and back, k18
row 28 knit to end
row 29 k20, increase one stitch by knitting into front and back, increase one stitch by knitting into front and back, k20
row 30 knit to end
row 31 k21, increase one stitch by knitting into front and back, increase one stitch by knitting into front and back, k21
row 32 knit to end
row 33 k22, increase one stitch by knitting into front and back,increase one stitch by knitting into front and back, k22
row 34 knit to end
row 35 k23, increase one stitch by knitting into front and back, increase one stitch by knitting into front and back k23
row 36 knit to end
row 37 k24, increase one stitch by knitting into front and back, increase one stitch by knitting into front and back, k24
row 38 knit to end
row 39 (you should now have 52 stitches) k18, increase one stitch by knitting into front and back, slip the next 14 stitches on to a stitch holder, increase one stitch by knitting into front and back, k18.
(leave the 14 stitches on holder as this is thumb)
At this point things change for each pair you are making as you only need to go as high as the top of the little finger for the person you are making for. measure from the top of the ribbing to the top of the little finger before starting to decrease. just knit each row to end to the required length.
to start decrease,
row 1 knit 2 together, k8 repeat to end
row 2 knit to end
row 3 knit 2 together, k7 repeat to end
row 4 knit to end
row 5 knit 2 together, k6 repeat to end
row 6 knit to end
row7 knit 2 together, k5 repeat to end
row 8 knit to end
row 9 knit 2 together, k4 repeat to end
row 10 knit to end
row 12 knit to end
row 13 knit 2 together to end
row 14 knit to end
row 15 cast off
For the thumb
Pick up the 14 stitches
row 1 increase one stitch by knitting into front and back, k12, increase one stitch by knitting into front and back,
row 2 - 10 knit to end
row 11 knit 2 together to end
cast off
Make up by sewing the seam along one side and on the thumb.
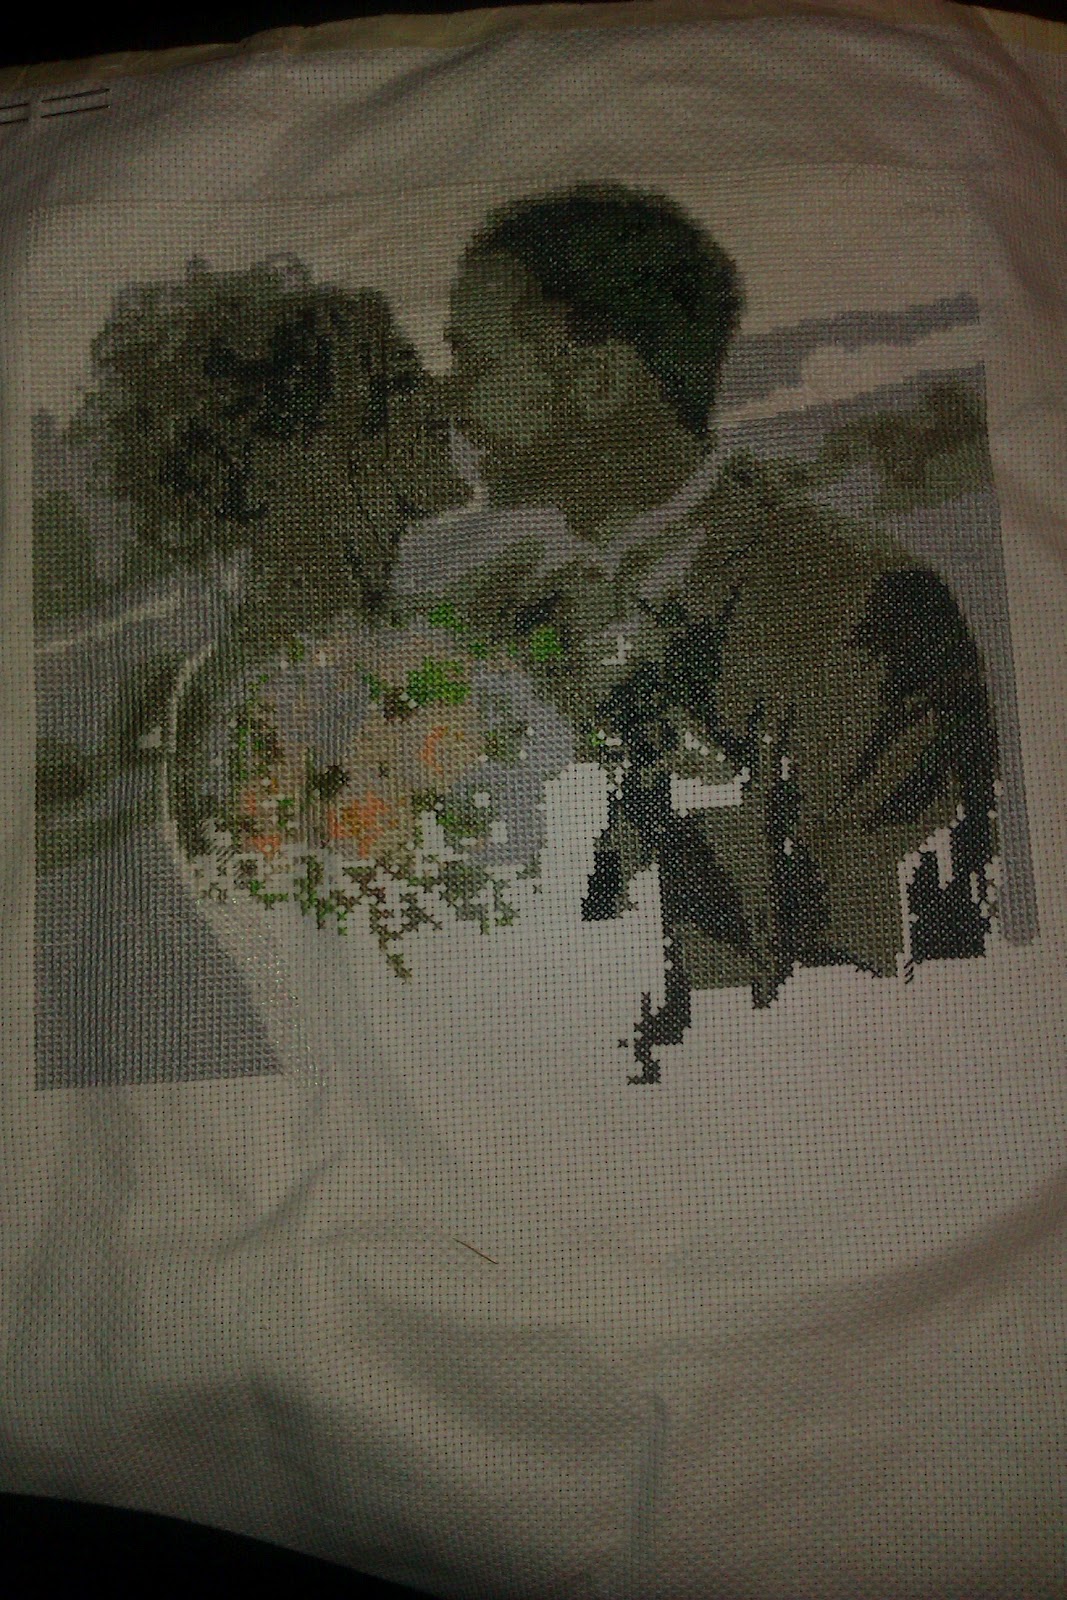
One last thing before I go is my TUSAL report which I am very late for :(